メインPCを新しくした。 Create my new main PC.
Background
My previous Cube PC uses RaspberryPi as CPU. But I want to have more powerful machine for play game or use CAD.
This time I decided to use Ryzen APU as CPU.
Spec
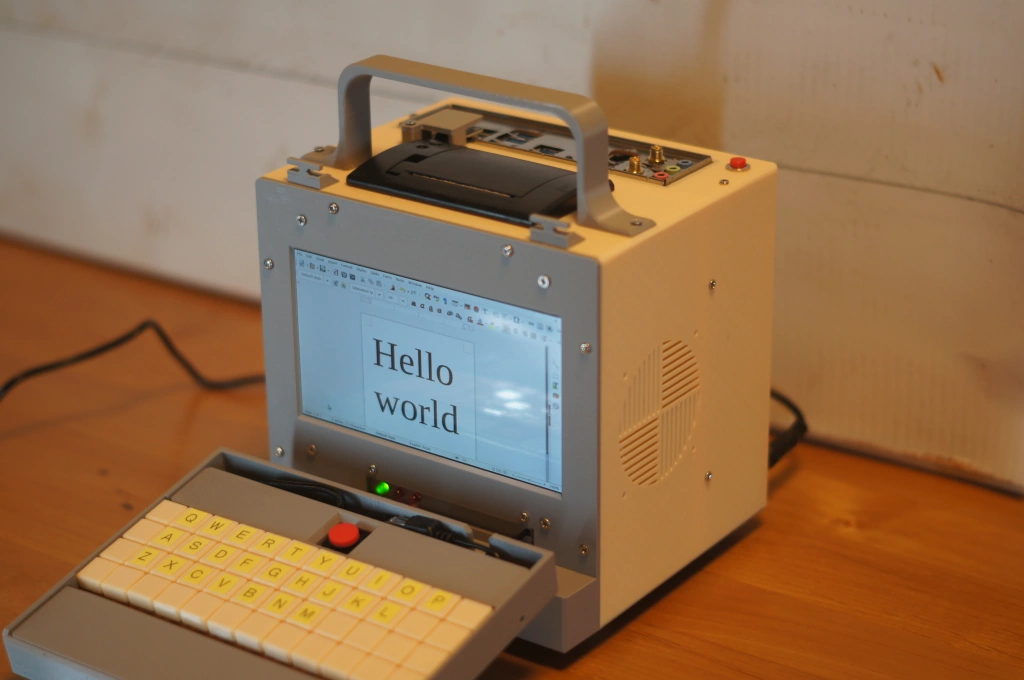
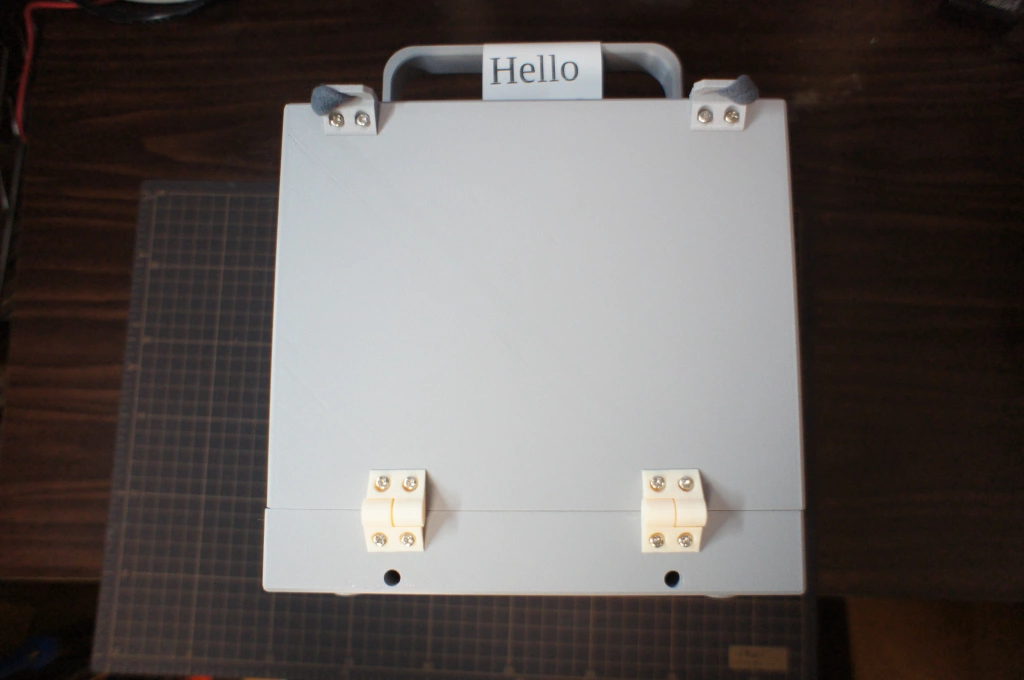
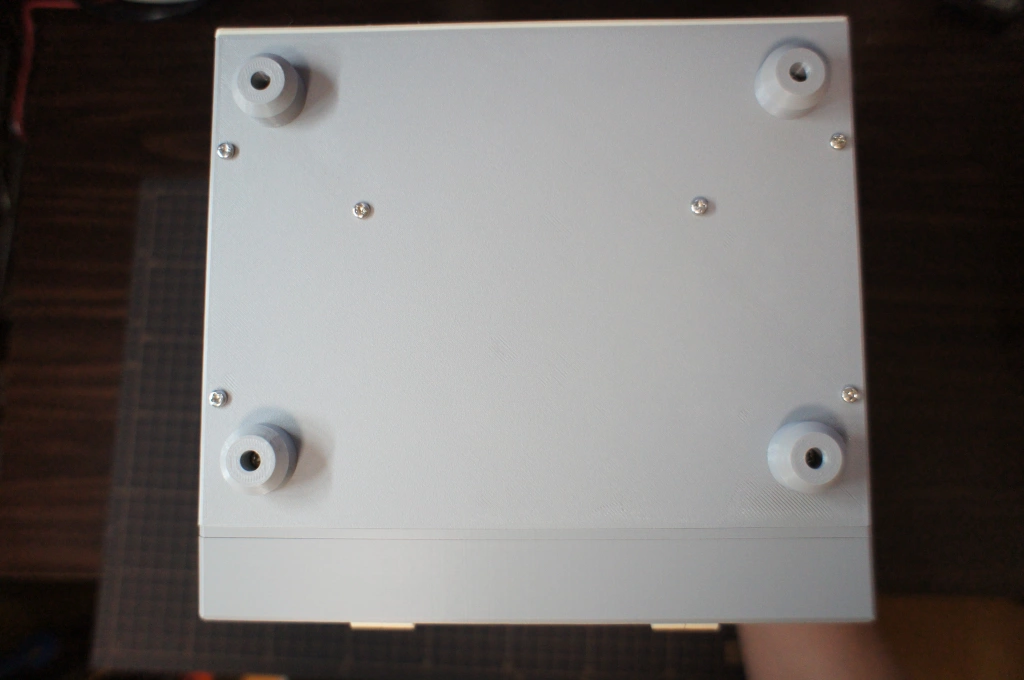
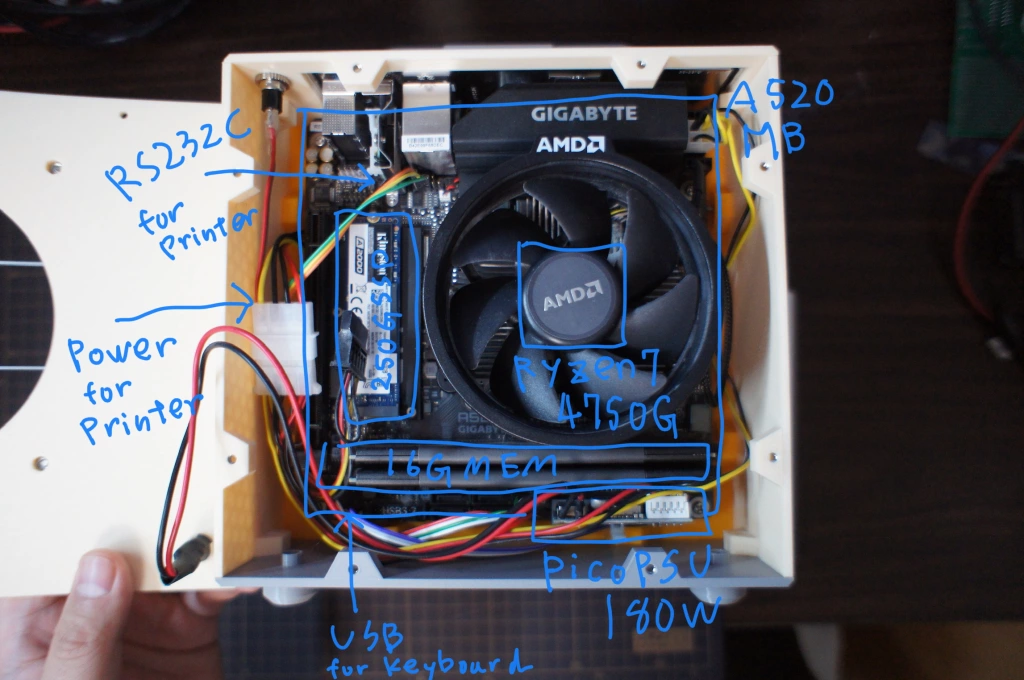
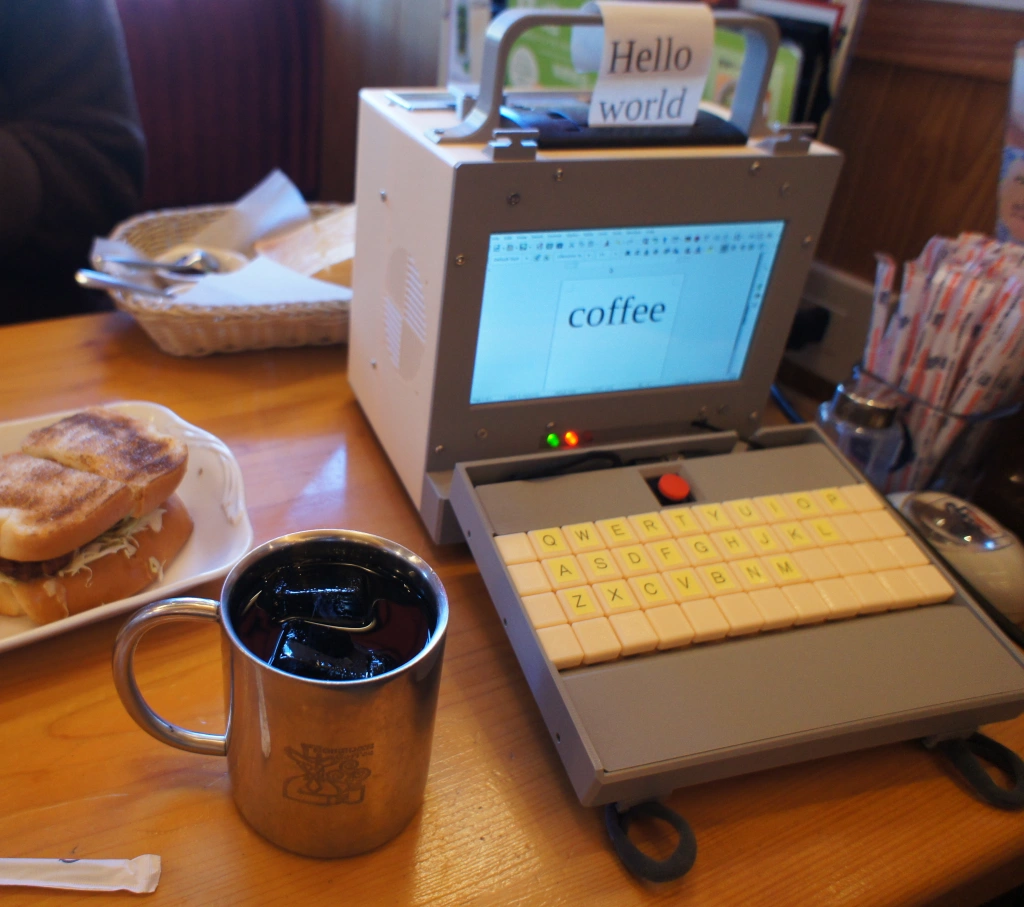
- Size: HxDxW 19cm x 19cm x 19cm
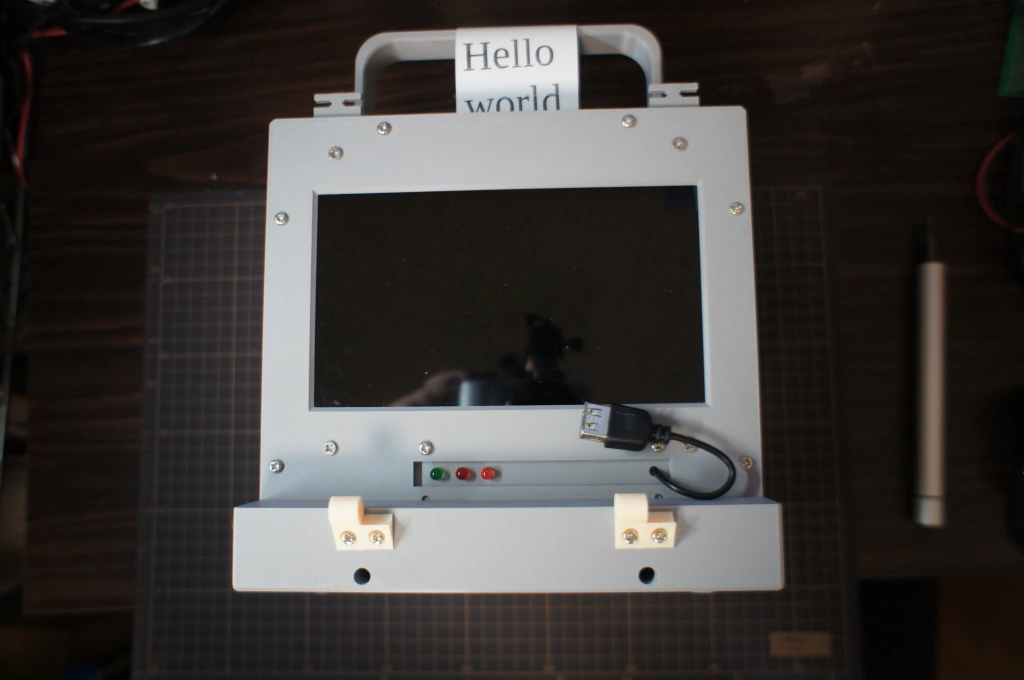
- Display: 7inch IPS LCD
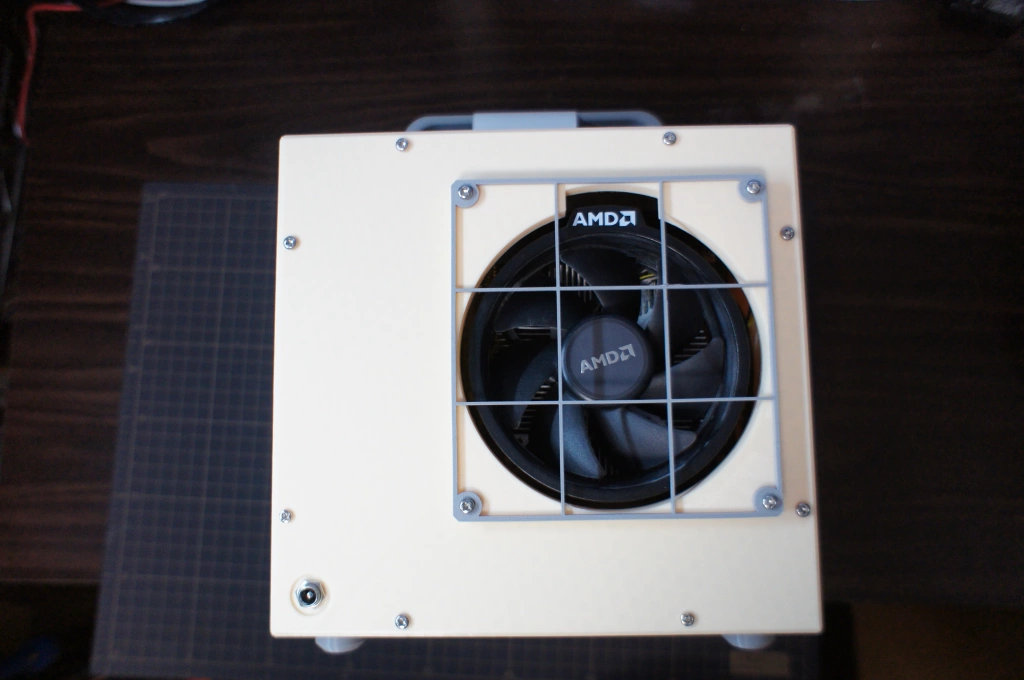
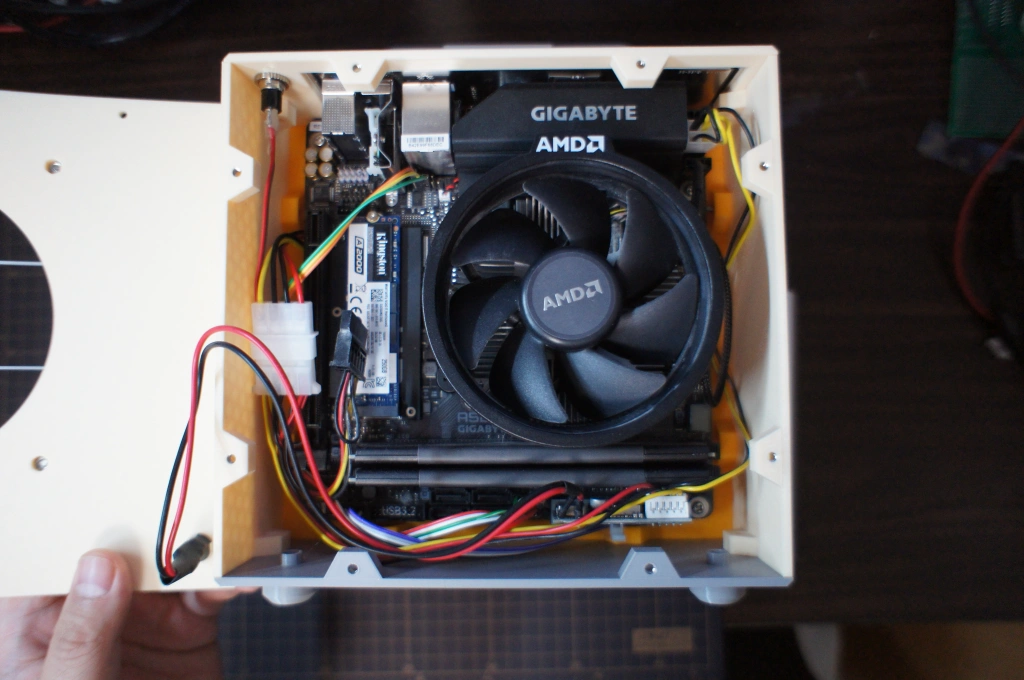
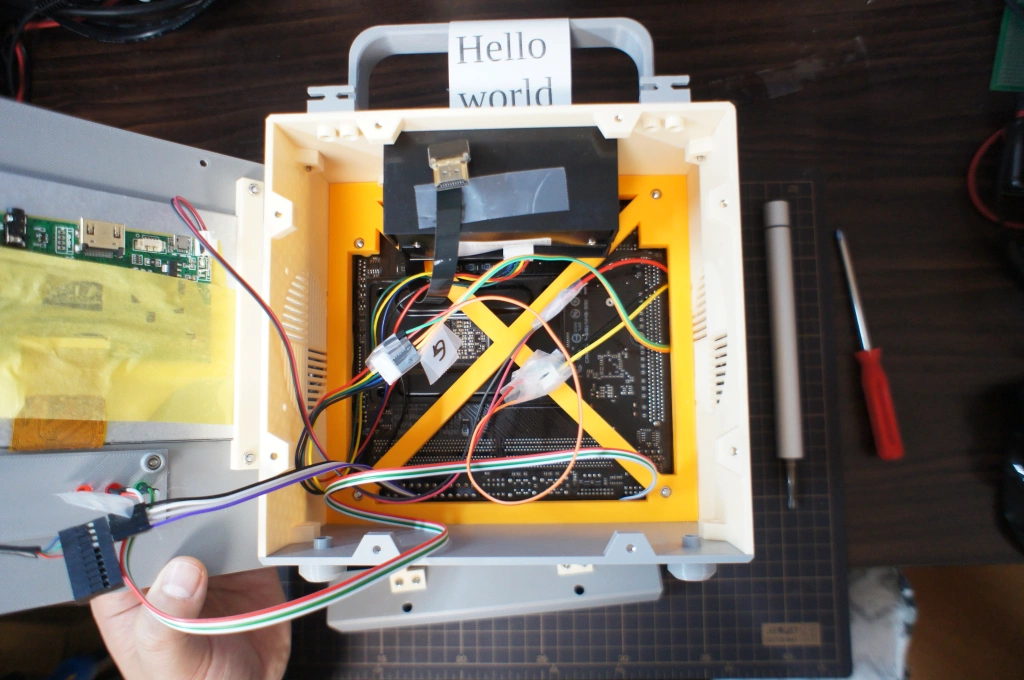
- CPU: AMD Ryzen 7 PRO 4750G
- MB: Gigabyte A520i-AC MiniITX
- PSU: PicoPSU 160W
- Memory: 16GB DDR4 2400Mhz
- Strage: 250GB M.2. NVME SSD
Form factor
There are lots of "cube" style PC like G4 Cube or NeXTcube.
But these PC requires external display or keyboards.
As a system it's not cube anymore I think.
I want to create true cube pc include internal display and keyboard.
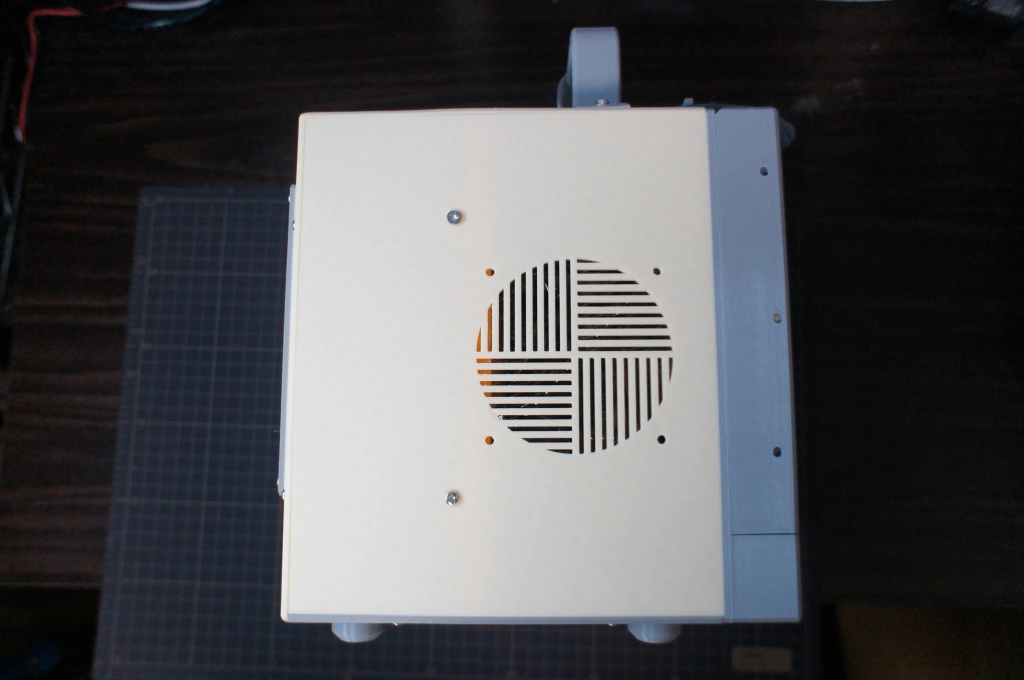
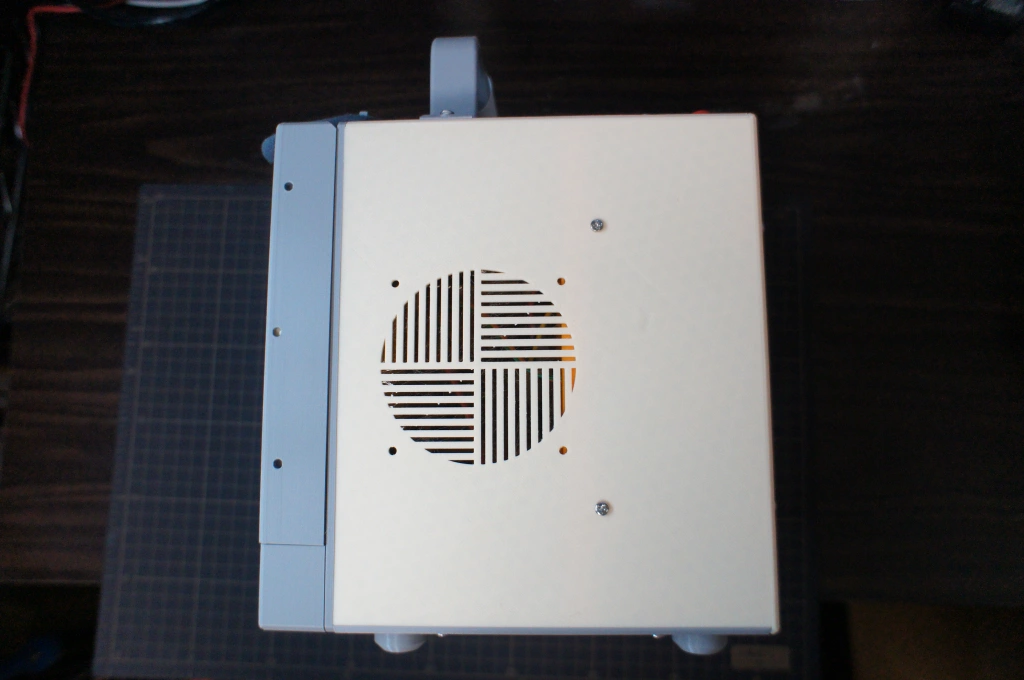
And this time I include a printer too.
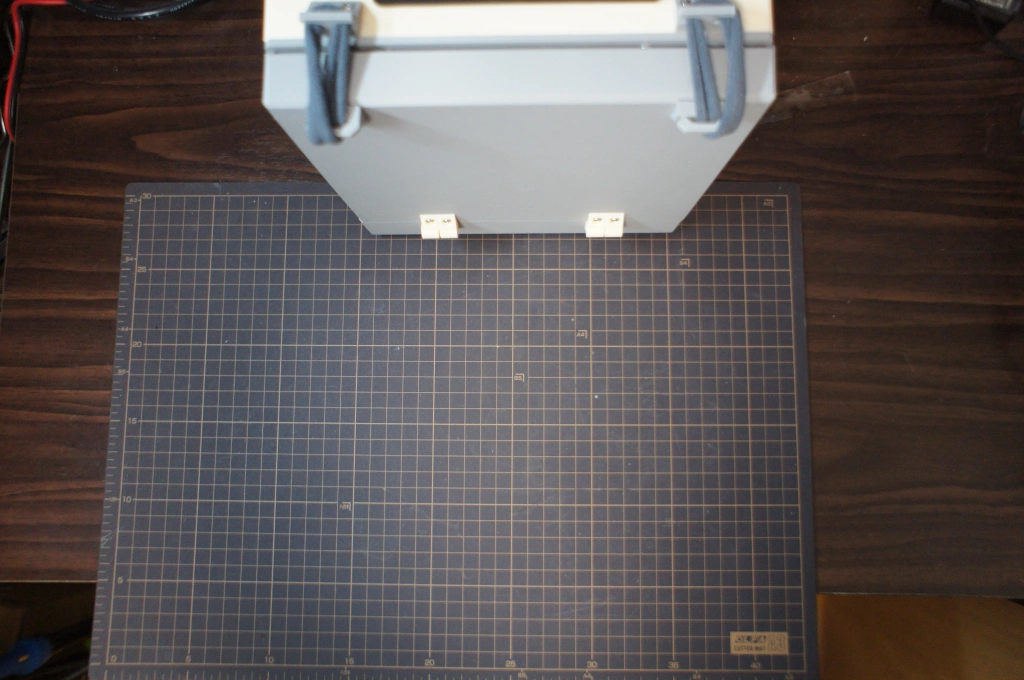
When I close the lid, it’s 19cm^3 cube. It’s about 6.8L volume.
It’s larger than my previous PC(15cm^3), It mainly because of MiniITX mother board(17cm^2).
This pc is inspired PC-9821Cr13 CanBeJam. (Image search)
We don’t need dedicated desk for this CamBeJam, You can move the PC to living table when you use.
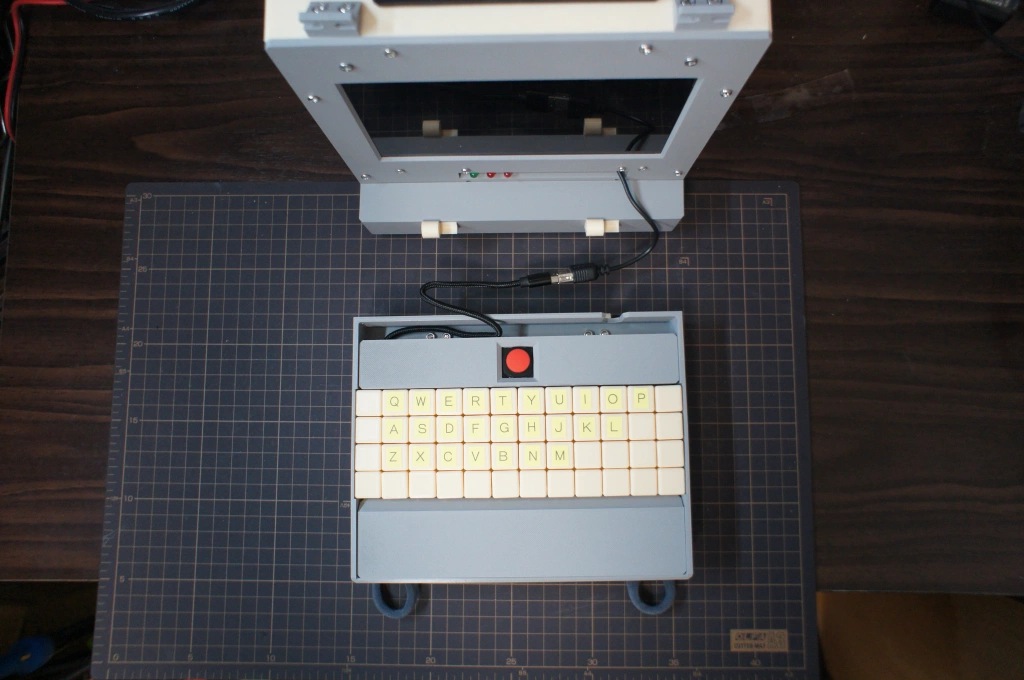
Keyboard
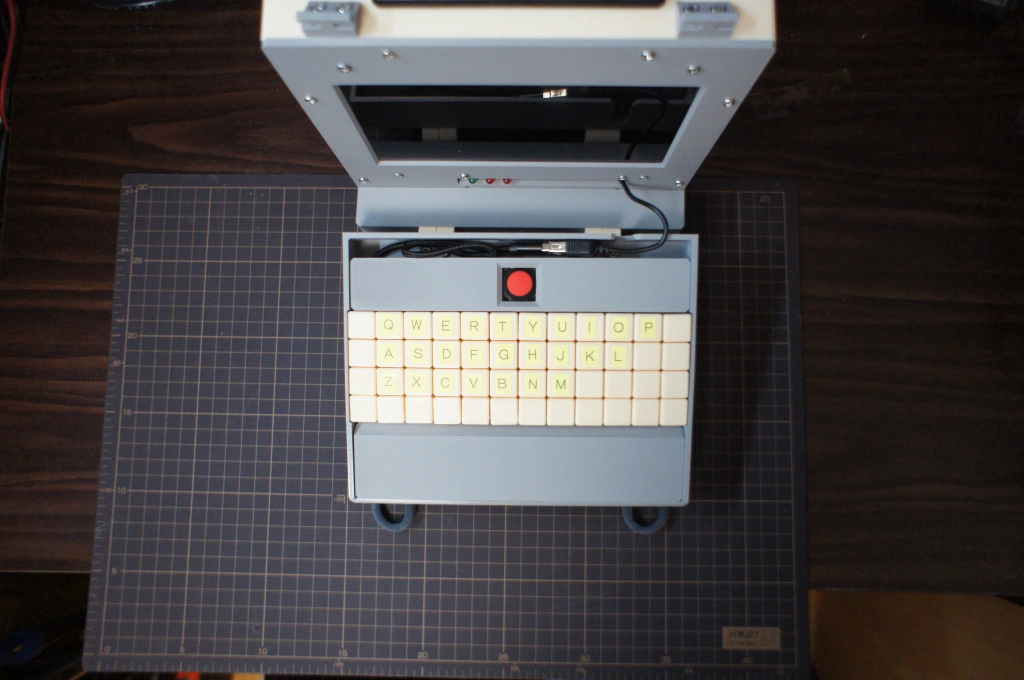
I choose 12x4 ortholinear keyboard, but to fit 19cm width, keypitch is shurinked to 16mm.
The keyboard also have analog joystick as trackpointer.
Printer
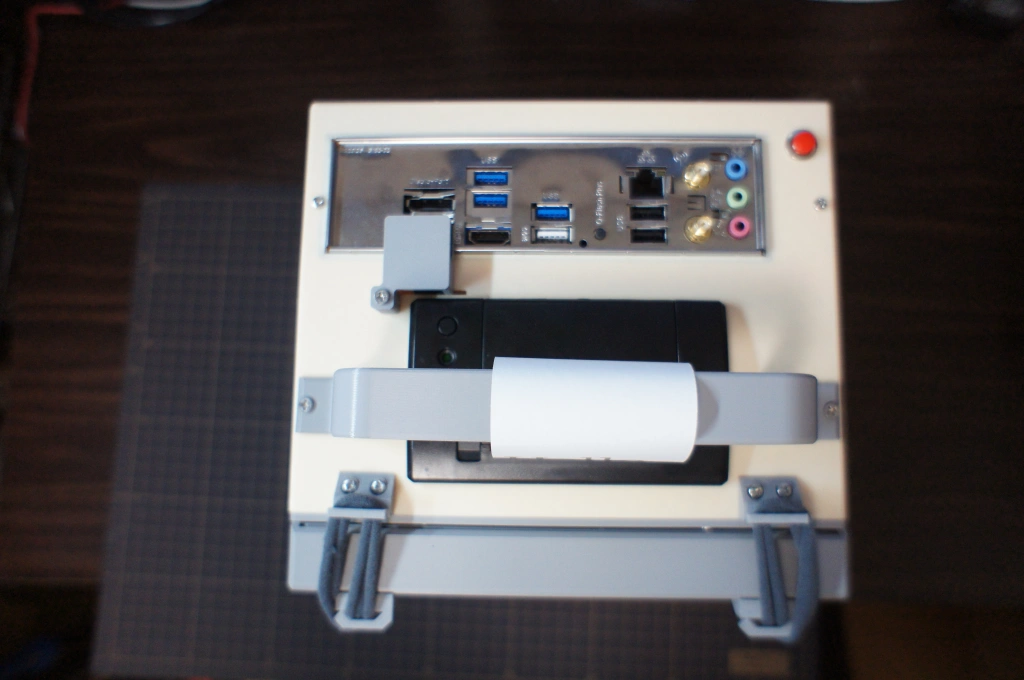
I install a thermal printer to my PC.
The motherboard (still) has RS-232C ports internally. I can connect the printer to the port.
There is a cups device driver. So I can print out from any application.
Modeling
This time I modeled this PC using CadQuery.
There is 8 main parts:
- A base part for motherboard.
- 6 surfaces.
- Keyboard
I use 8 - 10 hours to print each parts.
Schematics
PicoPSU outputs 12V and 5V line.
The printer uses 9V, so I installed a DCDC converter to generate 9V from 12V line.
The display uses 5V, I just connect to 5V line.
Power consumption and cooling
The system consumes 20W when it’s idle and 50W when it’s high load. And use 70W when both CPU and GPU is running max.
The ryzen CPU seems use boost clock when it’s under 60℃.
This PC only have one CPU fan. CPU fan get air from outside of machine and cool other parts also. But it seems enough when the CPU is running in normal clock.
Future work
- Add discrete GPU
- Water cooling
- Tape recorder
- Battery
- Speaker
Quotes
背景
前に作ったPC はラズパイだったので、 ゲームしたり設計したりするのに、もっと性能の高いマシンを作る事にした。
今回はRyzen CPUを使う事にした。
スペック
- サイズ: 縦横高さすべて19cm
- 画面: 7インチ IPS 液晶
- CPU: AMD Ryzen 7 PRO 4750G
- マザボ: Gigabyte A520i-AC MiniITX
- 電源: PicoPSU 160W
- メモリ: 16GB DDR4 2400Mhz
- 二次記憶: 250GB M.2. NVME SSD
形状
キューブ型をしたPCというのは、G4 CubeやNeXTcubeからはじまり、
自作PC界隈でもメジャーな形状だ。
しかし、私はここに物申したい。
ディスプレイやキーボードが外部に出てると、
PCシステム全体を見るとぜんぜんキューブ型をしてないじゃないか。
そこで、今回はディスプレイもキーボードも含めてキューブ型をしたPCを作る事にした。
(前回のページより)
今回は、プリンタも内蔵した。
画面を閉じた状態で19センチ立方のキューブ型になっている。 容積は6.8L。
前回の15cm立方のマシンよりも大きくなってしまったが、 主にMiniITXマザーボード(17cm四方)によるものだ。
このキーボードのしまいかたは、 PC-9821Cr13 CanBeJamから着想を得た。 (Image search)
このPCは、ミシンのように使わない時は押入に入れておいて、 使うときだけ茶の間の机に出せるように作られている。
キーボード
今回は4行12列の格子配列のキーボードを採用した。
ただし、19cmの横幅に合わせるために16mmのキーピッチにした。
また、トラックポイントとして使うためにアナログジョイスティックをつけた。
プリンター
感熱式プリンタを搭載した。
接続をどうしようか迷ったが、 実はマザーボードにはRS-232C端子がある事を発見したので、 ここに接続した。
CUPS用のドライバ が存在していたので、これを使えば、 任意の印刷機能があるアプリから印刷ができる。
造形
今回は、 CadQueryを 使って設計を行った。
主に8つのパーツからできている。
- マザボを保持する骨格
- 6枚の面
- キーボード
それぞれのパーツは印刷に8時間から10時間かかった。
配線
PicoPSUは12Vと5Vを出力してくれる。(ハードディスク用の電源)
プリンタは9V動作のため、12Vから9VをDCDCコンバータで生成している。
ディスプレイは5V動作なので、そのまま5Vを繋いでる。
消費電力と冷却
無負荷時に20Wぐらい電力を消費している。 CPUを全力で使うと50W。 CPUとGPU両方を使うと70Wほどの消費電力になる。
CPU温度が60℃以下の場合、ブーストクロックが使われるようだ。
冷却用のファンはCPUファンのみになっている。 CPUファンがケース外部から空気を吸い、 周辺パーツも冷やしている形になっている。
ブーストクロックが使われていなければ、 これで十分冷やされているようだ。
今後の課題
- GPUカードを入れる。
- 水冷
- テレコ
- 電池駆動
- スピーカー